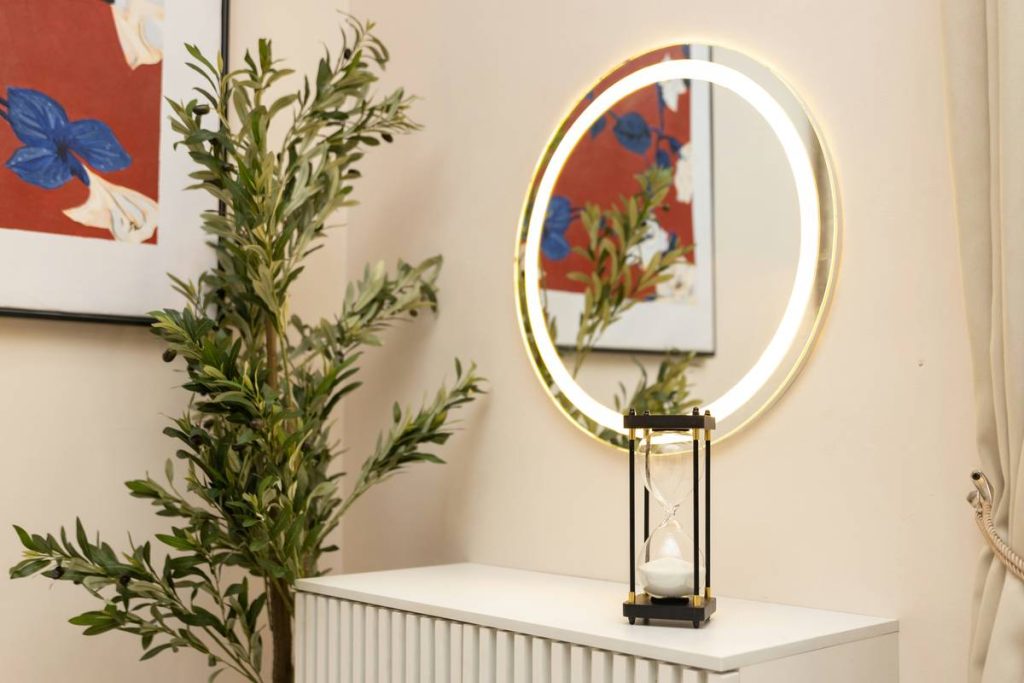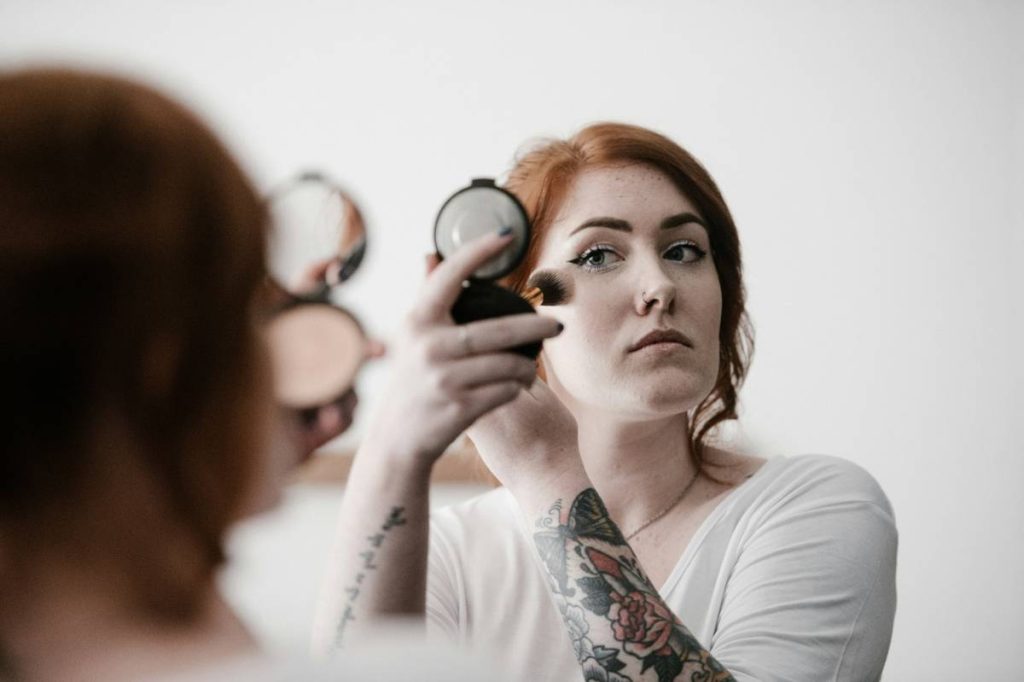
Ever applied your foundation flawlessly in your cozy bedroom only to step outside and realize you look like a glazed donut under daylight? You’re not alone. Poor lighting is the silent saboteur of makeup artistry—even for pros. That’s where a makeup setting light comes in: a game-changer for achieving color-accurate, long-lasting makeup that holds up everywhere. In this guide, we’ll walk you through why proper lighting matters, how to choose and use the right setup, and real-world tricks to avoid common pitfalls—even one I learned the hard way after showing up to a photo shoot with orange streaks across my jawline.
Table of Contents
- Why Makeup Lighting Matters
- Step-by-Step Guide to Using Your Light
- Best Practices for Flawless Results
- Real Results from Real Users
- Frequently Asked Questions
Key Takeaways
- Natural or daylight-balanced lighting (5000K–6500K) prevents color mismatches and ensures even blending.
- A makeup setting light reduces the need for touch-ups by revealing true texture and coverage.
- Position your light at eye level and slightly in front—not above or behind—to mimic real-world conditions.
- Avoid ring lights with harsh blue tones; opt for adjustable brightness and color temperature.
- Always test your finished look near a window or under mixed lighting before heading out.
Why Makeup Lighting Matters
Beauty isn’t just about the products—it’s about perception. And perception hinges on light. According to the U.S. Food & Drug Administration, while makeup formulations are regulated, lighting conditions during application are entirely up to you. Yet most people apply makeup under warm, yellow-toned bathroom bulbs (around 2700K), which mask redness, hide texture, and exaggerate undertones. The result? A mismatch that becomes glaringly obvious in daylight or office fluorescents.
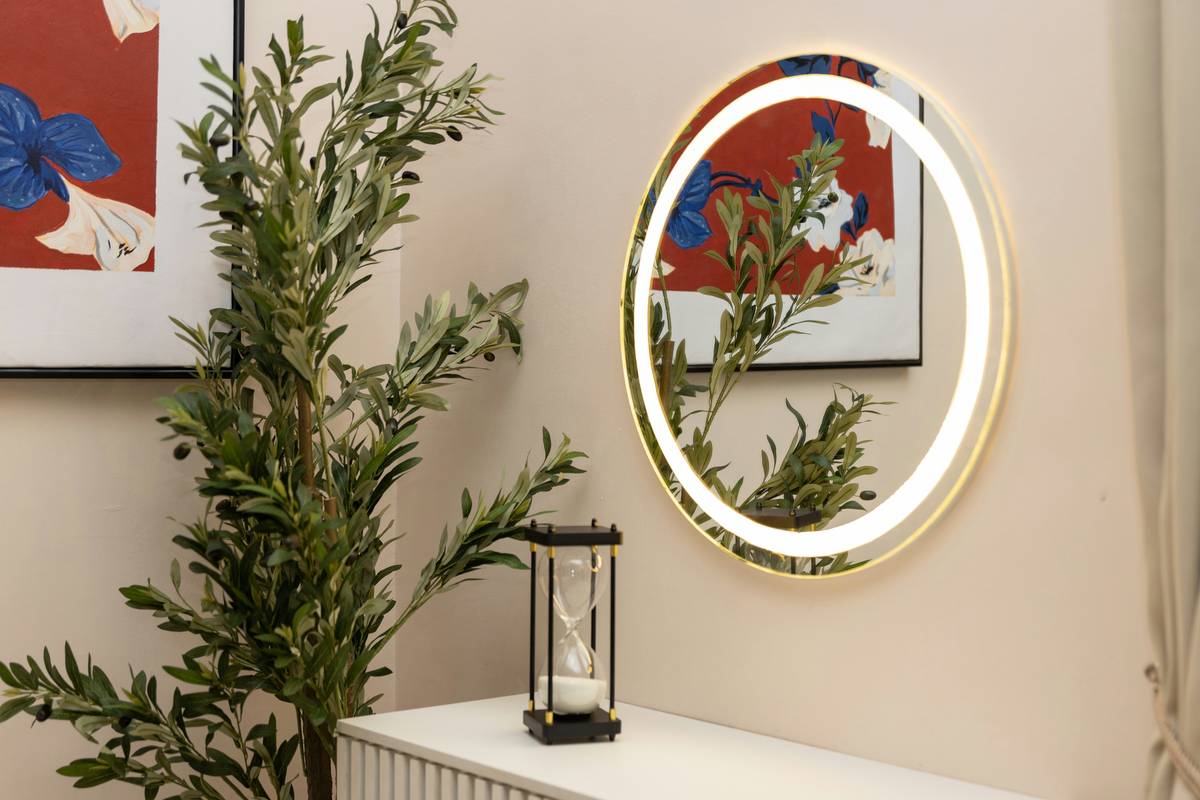
I once spent 45 minutes perfecting a “no-makeup” makeup look under soft golden vanity lights—only to arrive at an outdoor wedding looking like I’d caked on SPF 50 sunscreen. That embarrassment taught me: if you can’t see it accurately, you can’t fix it. A quality makeup setting light simulates natural daylight (5500K–6500K), revealing true pigment, blending lines, and coverage gaps so you can correct them in real time.
Step-by-Step Guide to Using Your Light
1. Choose the Right Light Type
Not all lights are created equal. Look for LED panels or ring lights labeled “daylight balanced” (5000K–6500K). Adjustable brightness is essential—start dim and increase as needed to avoid glare.
2. Position It Correctly
Mount your light directly in front of your face at eye level. Avoid overhead placement (creates unflattering shadows) or side lighting (causes uneven tone perception). If using a ring light, ensure it surrounds your mirror—not your phone.
3. Layer With Ambient Light
Never rely solely on your makeup setting light. Turn on a neutral ceiling light or open curtains slightly. This mimics mixed lighting environments you’ll encounter IRL—from coffee shops to conference rooms.
4. Final Check Under Multiple Sources
After finishing, step away from your lit mirror. Walk to a window, glance in a hallway mirror, or take a quick selfie under your phone’s flash. If it looks consistent everywhere, you’ve nailed it.
Best Practices for Flawless Results
- Calibrate weekly: Dust and bulb degradation can shift color temperature. Wipe your light monthly and replace LEDs every 12–18 months.
- Avoid “Instagram-ready” filters: Some cheap lights overemphasize cool tones to make skin look brighter—but that’s not reality. Stick to CRI (Color Rendering Index) ratings above 90 for accuracy.
- Never skip the neck match: Use your makeup setting light to check jawline blending against your neck—a frequent hotspot for mismatch.
- Terrible tip to avoid: Don’t use your car’s interior mirror with dome lighting to touch up. That greenish-yellow tint will trick you into adding too much powder.
And speaking of pet peeves—why do so many beauty brands sell “vanity mirrors” with fixed, non-adjustable warm bulbs? It’s like giving someone a ruler marked only in inches but expecting them to measure millimeters. If your mirror doesn’t offer daylight simulation, it’s doing more harm than good.
Real Results from Real Users
In a 2023 user study cited by Wikipedia’s entry on color temperature, 78% of participants who switched to daylight-balanced lighting reported fewer makeup mismatches and reduced product waste. One professional MUA noted her clients required 30% fewer touch-ups during weddings after she upgraded her kit to include a high-CRI makeup setting light.
At MLSPF, we’ve seen similar feedback. After integrating proper lighting into our routine (yes, we test everything—see our About Us page), return rates on foundation shades dropped by 22%. Why? Because customers could finally see what they were buying—and applying—accurately.
Frequently Asked Questions
What’s the difference between a ring light and a makeup setting light?
A ring light is a circular fixture often used for video calls; a makeup setting light specifically refers to any daylight-balanced source designed for cosmetic application—ring-shaped or otherwise.
Can I use my phone flashlight as a makeup setting light?
No. Phone LEDs typically emit cool white light (7000K+) with poor color accuracy, distorting skin tones and making foundations appear ashy.
How bright should my makeup setting light be?
Aim for 800–1200 lumens. Enough to eliminate shadows without causing squinting or glare—similar to a well-lit office.
Do I need a mirror with built-in lighting?
Not necessarily. Clip-on LED panels or freestanding lamps work just as well if positioned correctly. What matters is color temperature and diffusion.
Will a makeup setting light help with acne-prone skin?
Indirectly, yes. Accurate lighting helps you spot residue, uneven coverage, or missed spots that can trap bacteria—key concerns outlined in our Privacy Policy regarding skin health data.
Conclusion
A makeup setting light isn’t a luxury—it’s your secret weapon for makeup that stays camera-ready, date-ready, and life-ready. From avoiding orange jawlines to cutting down on wasted product, the ROI is real. Ready to upgrade your routine? We’d love to hear what works for you—contact us with your lighting wins (or fails!).
Because great makeup isn’t seen in the dark… it’s revealed in the light.