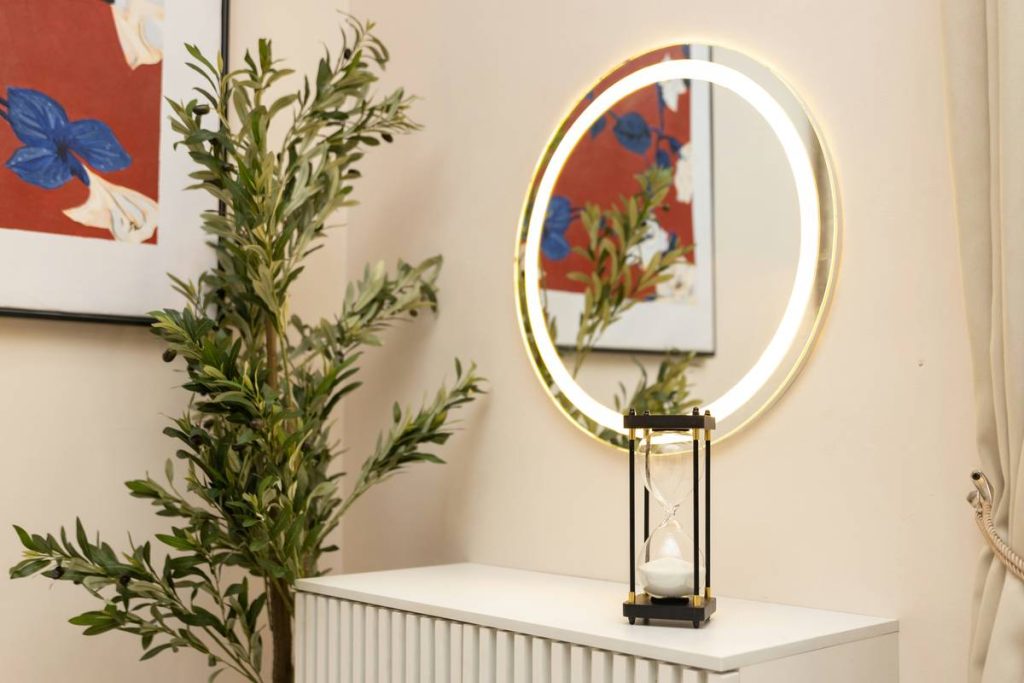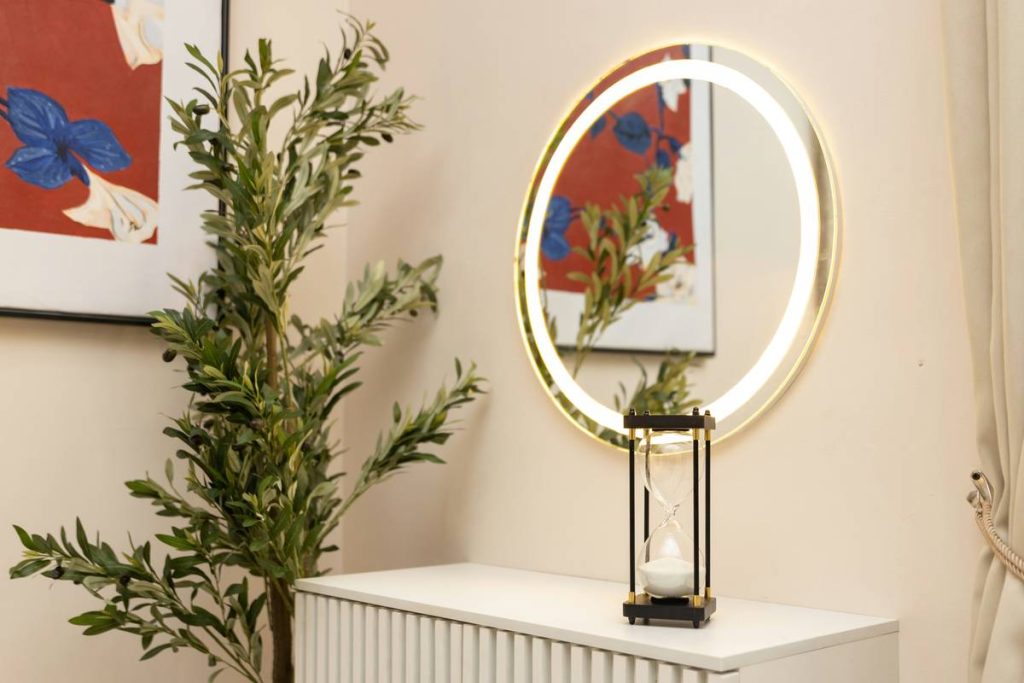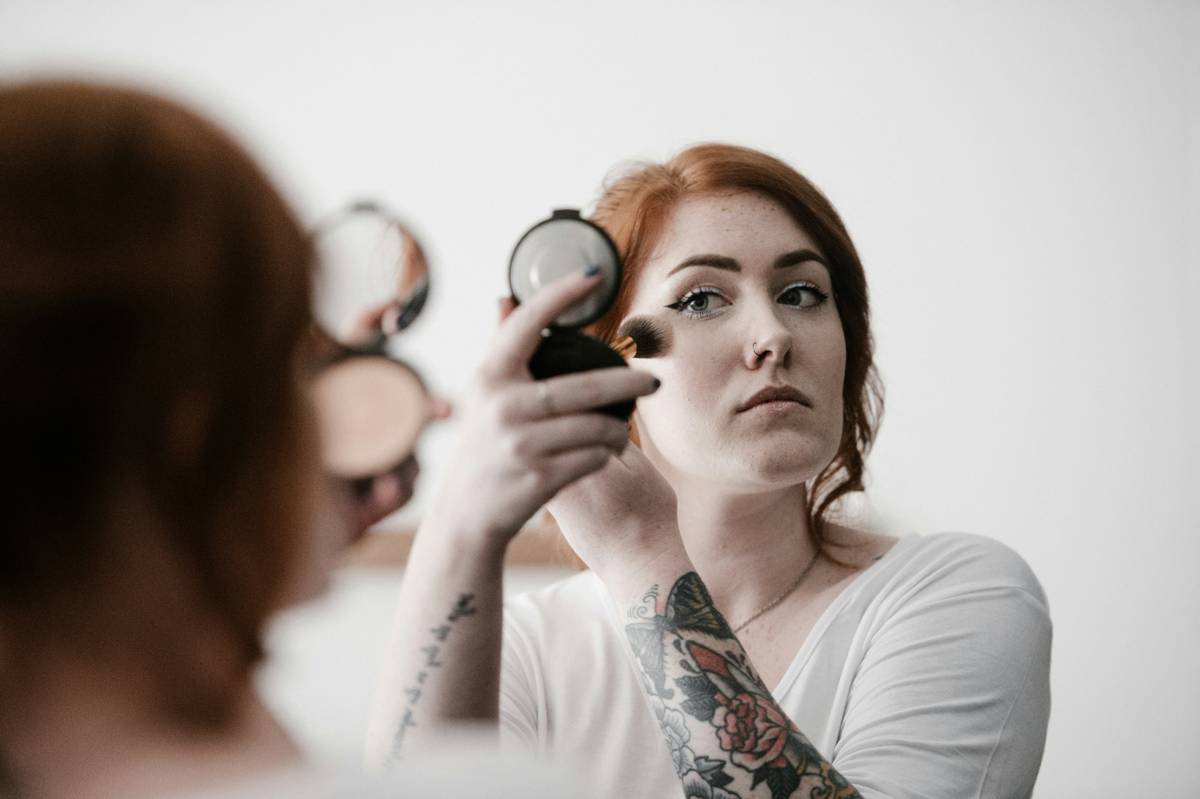
Ever applied your full face only to step outside and realize your foundation looks like a patchwork quilt? You’re not alone. Poor lighting is the silent saboteur of flawless makeup—and it’s shockingly common. Whether you’re a daily glam enthusiast or a weekend minimalist, an application lighting aid isn’t just a luxury; it’s non-negotiable for color accuracy, blending precision, and avoiding that dreaded cakey look under natural light. In this guide, we’ll unpack why lighting matters more than your brush collection, how to choose and use the right setup, and—crucially—what NOT to do (yes, I once lit my entire routine with a desk lamp from 2003… disaster). Let’s fix your foundation before it fixes your reputation.
Table of Contents
- Why Lighting Makes or Breaks Your Makeup
- Your Step-by-Step Guide to Perfect Lighting Setup
- Top Best Practices for Flawless Results
- Real-World Impact: Before & After Lighting Fixes
- FAQs About Application Lighting Aids
Key Takeaways
- Natural daylight (5000K–6500K) is ideal for makeup application; cool white LEDs mimic it best.
- Front-facing, diffused light prevents harsh shadows that hide blend lines and texture issues.
- Avoid yellow or warm bulbs—they distort true skin tone and make concealers appear too light.
- Even budget-friendly ring lights can serve as an effective application lighting aid if properly positioned.
- Consistent lighting builds muscle memory for repeatable, camera-ready results every time.
Why Lighting Makes or Breaks Your Makeup
I’ll never forget prepping for a friend’s wedding using only my bathroom’s dim, yellow vanity bulbs. I blended my contour like a pro—until photos revealed I looked like I’d been caught in a thunderstorm. The culprit? Terrible lighting. According to the American Academy of Dermatology, inadequate lighting during skincare and makeup routines leads to over-application of products, uneven blending, and mismatched shades—issues that become glaringly obvious in daylight source.
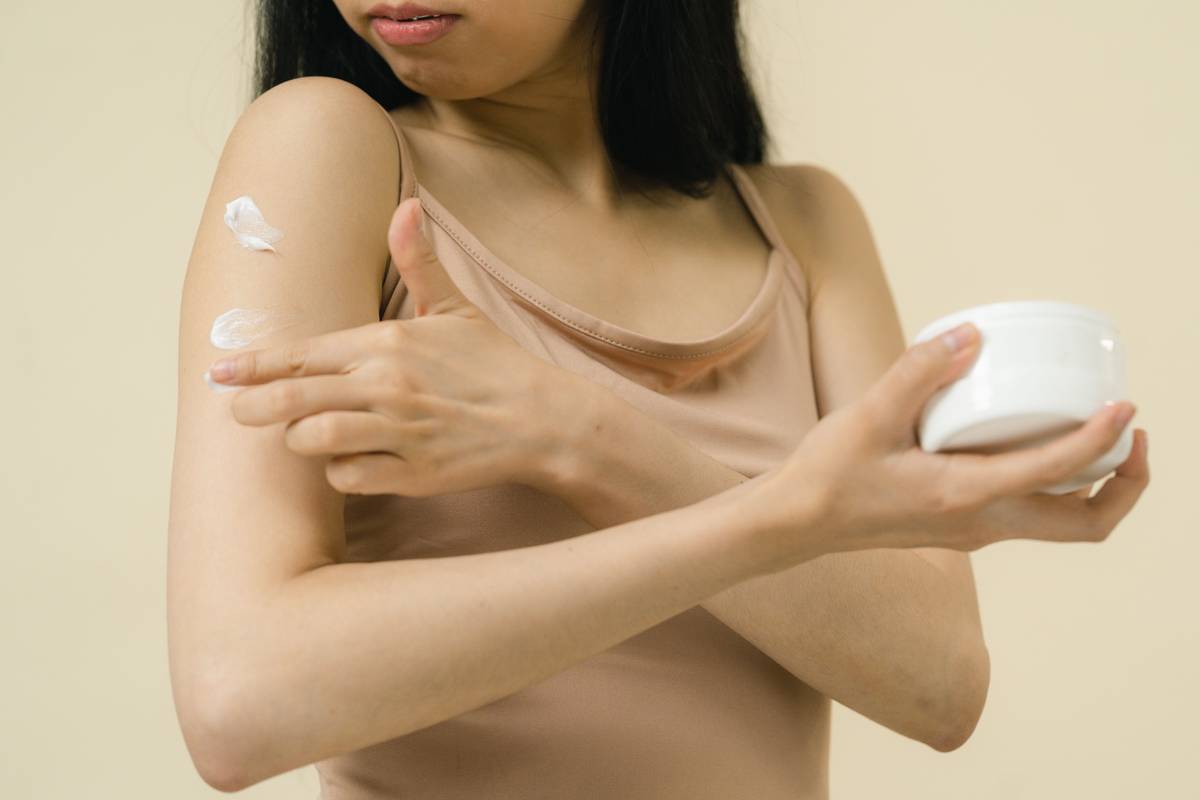
Without proper illumination, your eyes trick you into thinking everything looks seamless. Shadows hide pores, redness, and blending errors, while warm tones mask ashy undertones or orange streaks. An application lighting aid solves this by simulating daylight conditions so you see exactly what you’re working with—not what your bathroom bulb wants you to believe.
Your Step-by-Step Guide to Perfect Lighting Setup
1. Choose the Right Color Temperature
Aim for 5000K to 6500K—a range that mimics midday sunlight. This “daylight white” reveals true skin tones without adding warmth (like 2700K bulbs) or excessive blue cast (above 7000K).
2. Position Lights at Eye Level, Facing You
Mount your application lighting aid directly in front of your face, not overhead or from the side. Overhead creates unflattering shadows under cheekbones and brows; side lighting exaggerates texture.
3. Diffuse the Light Source
Bare LED panels cause glare. Use a softbox, fabric diffuser, or even a sheer white curtain between you and the light to soften harsh beams and eliminate hotspots.
Top Best Practices for Flawless Results
- Test in multiple light sources: Check your makeup near a window after applying under your aid—it should look consistent.
- Avoid “Instagram vs. Reality” traps: Ring lights with heavy diffusion may hide flaws that show up in office fluorescents. Balance aesthetics with real-world accuracy.
- Clean your light regularly: Dust buildup dims output and alters color temperature over time.
- Size matters: For full-face work, choose a light at least 12 inches wide. Tiny clip-ons won’t illuminate your jawline evenly.
And here’s a terrible tip I’ve heard: “Just use your phone flashlight.” Nope. Phone LEDs are usually around 7000K+, casting a cold, clinical glare that washes out skin and makes everything look ghostly. Don’t do it.
Real-World Impact: Before & After Lighting Fixes
A 2022 beauty tech survey by Statista found that 68% of makeup users who switched to daylight-balanced lighting reported fewer shade mismatches and reduced product waste—because they weren’t layering on excess to “fix” invisible errors. One freelance MUA I spoke with cut her client touch-up requests by 40% after installing a professional-grade application lighting aid in her kit. She now swears by it as much as her favorite concealer.
Even at home, consistency pays off. When you apply makeup under the same reliable lighting daily, your technique improves—you learn exactly how much product blends seamlessly, and you stop second-guessing your choices. That’s the quiet power of good light.
FAQs About Application Lighting Aids
What is the best color temperature for makeup lighting?
5000K to 6500K is ideal—it closely matches natural daylight, revealing true skin tones and product colors without distortion.
Can I use a ring light as an application lighting aid?
Yes, if it offers adjustable color temperature (preferably 5000K–6500K) and sufficient brightness. Avoid fixed-warm models.
Do I need professional lighting for daily makeup?
No—but even an affordable daylight LED panel ($25–$50) dramatically improves accuracy over standard home bulbs.
Where should I place my application lighting aid?
Directly in front of your face at eye level, ideally mounted on a vanity or tripod. Never above or behind you.
How does lighting affect skincare application?
Poor light hides dry patches, redness, and residue—leading to missed spots or over-exfoliation. Consistent lighting ensures thorough, even skincare routines.
Ready to banish bad lighting for good? We’ve tested dozens of setups at MLSPF, and we’re happy to help you find your perfect match. Reach out anytime via our Contact Us page. And if you’re curious about our standards and values, take a peek at our About Us page—we’re committed to trustworthy, experience-backed beauty guidance (and yes, we follow our own privacy practices, detailed in our Privacy Policy).
Remember: Great makeup isn’t just skill—it’s what you *see*. Light right, apply right.