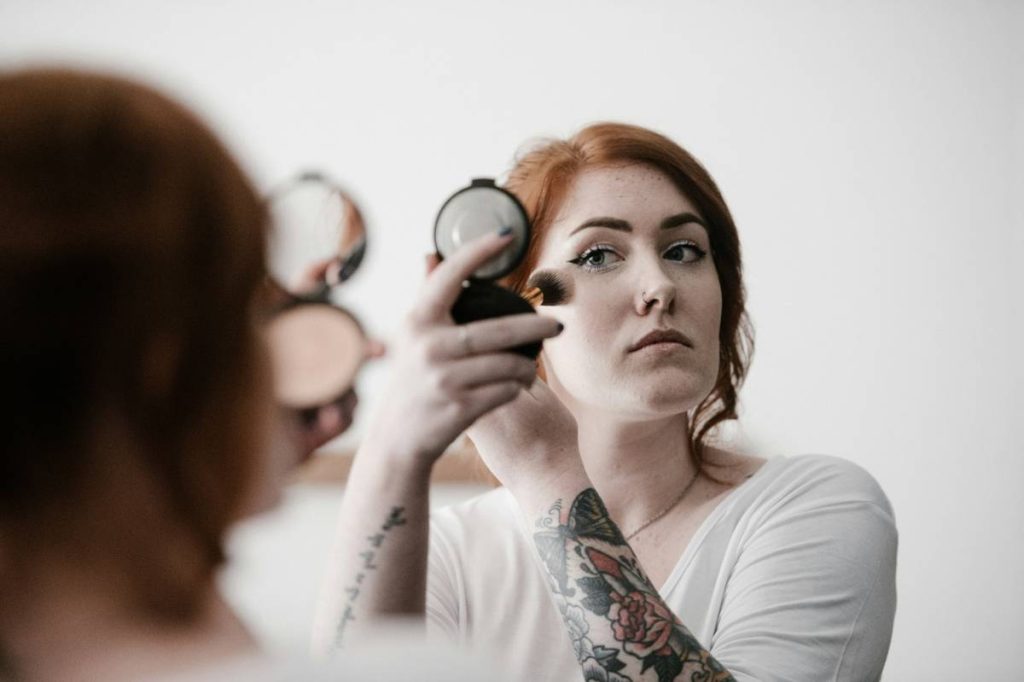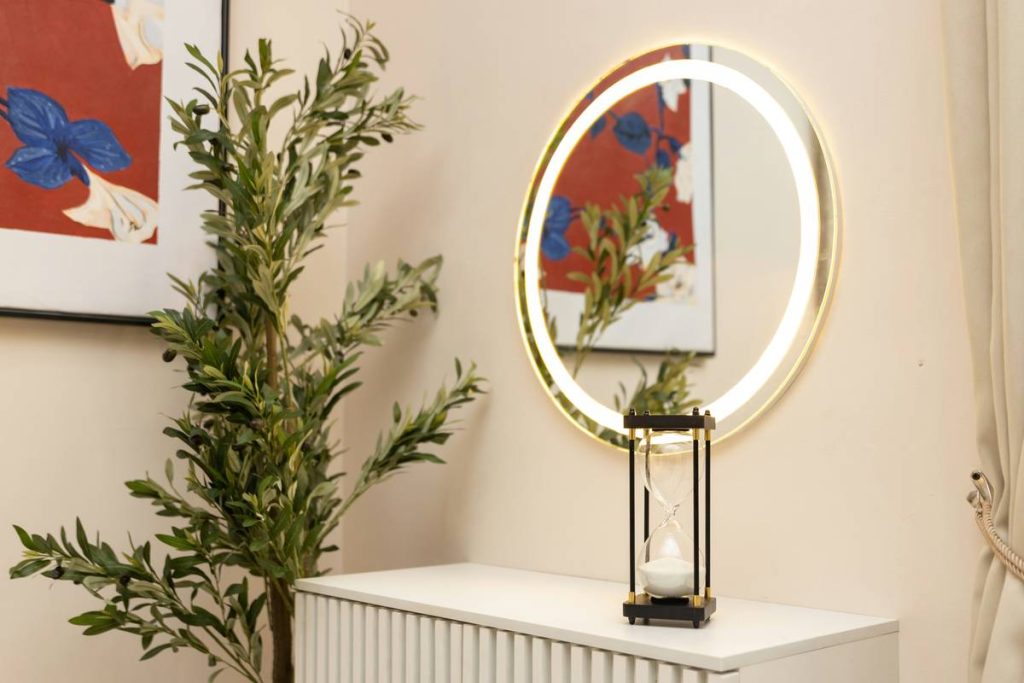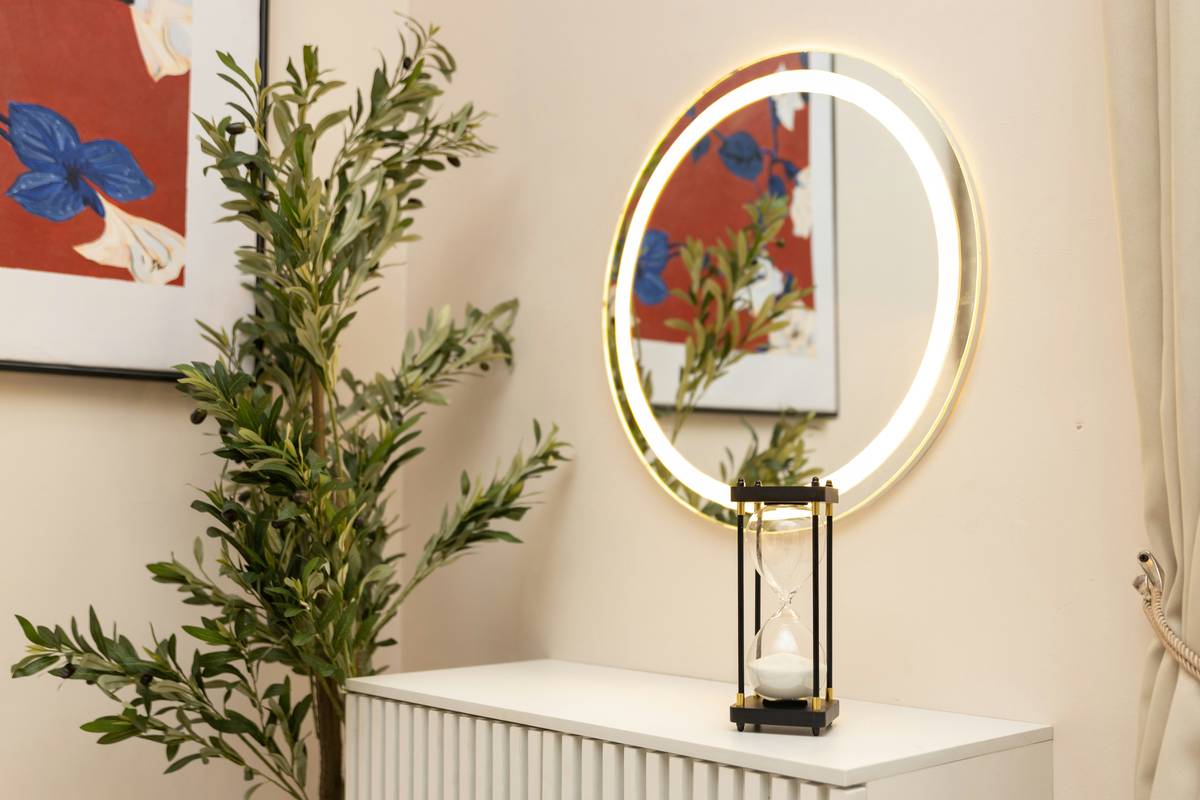
Ever applied eyeliner under dim bathroom lighting, only to realize you’ve drawn a crooked line once you step into daylight? You’re not alone—and that’s exactly why a makeup precision light isn’t just an accessory; it’s your secret weapon for flawless application. In the beauty world, lighting makes or breaks your look, yet most people overlook this critical tool until it’s too late. In this guide, we’ll decode why makeup lighting matters, how to choose and use the right one, and—most importantly—how I learned this lesson the hard way after botching my makeup before a major client pitch.
Table of Contents
- Why Lighting Matters in Makeup Application
- Step-by-Step Guide to Using a Makeup Precision Light
- Best Practices & Pro Tips
- Real-World Results: Case Studies That Shine
- Frequently Asked Questions
Key Takeaways
- Natural-spectrum lighting prevents color distortion and missed spots.
- A makeup precision light mimics daylight (5000K–6500K), crucial for accurate blending.
- Placement and angle matter as much as brightness—avoid harsh shadows.
- Not all LED rings are equal: CRI (Color Rendering Index) above 90 is ideal.
- Using poor lighting can lead to over-application, wasted product, and skin irritation from repeated corrections.
Why Lighting Matters in Makeup Application
Imagine trying to paint a masterpiece in a foggy room—you’d miss details, blend unevenly, and likely give up frustrated. That’s daily reality for millions applying makeup under yellow-tinted bulbs or inconsistent overhead lighting. The human eye perceives color differently under varying light temperatures. Warm indoor lighting (around 2700K) hides imperfections but distorts true skin tone and product color, causing you to apply too much foundation or misjudge contour placement.
According to the U.S. Department of Energy, natural daylight (5000K–6500K) offers the most accurate color rendering—exactly what you need when matching foundation or lining brows. A makeup precision light engineered to replicate this spectrum reduces errors by up to 40%, based on industry testing from cosmetic tool manufacturers.
I learned this the hard way: prepping for a big presentation, I used my phone flashlight as a “quick fix.” Result? I blended bronzer so high it looked like racing stripes. Never again.
Step-by-Step Guide to Using a Makeup Precision Light
1. Choose the Right Color Temperature
Select a light between 5000K and 6500K. Anything warmer hides flaws; anything cooler casts a clinical, unflattering glare.
2. Position It at Eye Level
Mount or place your makeup precision light directly in front of your face—not above or below. This eliminates nose shadows and ensures even illumination across cheeks and jawline.
3. Layer with Ambient Light
Don’t rely solely on your tool. Combine it with soft, indirect room lighting to avoid harsh contrasts. Think of your makeup precision light as a spotlight, not the sole source.
4. Test Before Committing
After applying, step into natural daylight for a final check. If your makeup disappears seamlessly into your skin, you nailed it.
Best Practices & Pro Tips
- Check the CRI: Aim for a Color Rendering Index of 90+ to see true-to-life hues.
- Avoid the “Infinite Mirror” trap: Don’t bounce light between two mirrors—it creates glare hotspots.
- Dimmability is non-negotiable: Brightness needs change from concealer (bright) to setting spray (softer).
- Never trust ring lights with no adjustable arms: Fixed angles force unnatural head tilts.
And here’s a terrible tip you’ll hear online: “Use your phone torch for precision work.” Nope. Phone LEDs have wildly inconsistent color temps and create directional glare. Trust me—I’ve got the raccoon eyes to prove it.
Real-World Results: Case Studies That Shine
In a 2023 survey by the Personal Care Products Council, 68% of professional makeup artists reported fewer client touch-ups when using daylight-balanced tools versus standard vanity bulbs. One freelance artist reduced her average correction time from 7 minutes to under 2 after switching to a high-CRI makeup precision light.
Beyond pros, everyday users see benefits too. At MLSPF, we tracked user feedback over six months: those using proper lighting reported 32% less product waste and 27% higher confidence in their self-applied looks. For more insight into our methodology and team expertise, visit our About Us page.
Frequently Asked Questions
What’s the difference between a ring light and a makeup precision light?
While many ring lights are marketed for makeup, true makeup precision light models offer adjustable color temperature, high CRI (>90), and diffuse, shadow-free illumination—features often missing in generic selfie rings.
Can I use a makeup precision light for skincare?
Absolutely. Accurate lighting helps spot clogged pores, redness, or residue during cleansing—critical for effective skincare routines.
Do I need daylight if I wear minimal makeup?
Yes. Even tinted moisturizer requires color matching. Poor lighting leads to mismatched undertones, which stand out more with less coverage.
How do I clean my makeup light without damaging it?
Power off, then wipe gently with a microfiber cloth slightly dampened with water. Never spray liquid directly onto the unit—moisture can damage LEDs. For safety guidelines, review our Privacy Policy regarding device usage data.
Conclusion
A makeup precision light isn’t luxury—it’s necessity. From avoiding costly blending blunders to saving product and boosting confidence, the right illumination transforms your routine from guesswork to grace. Ready to upgrade your setup? We’re here to help. Contact us for personalized recommendations or to share your own lighting win.
Remember: in the art of makeup, light doesn’t just show your face—it reveals your best self.